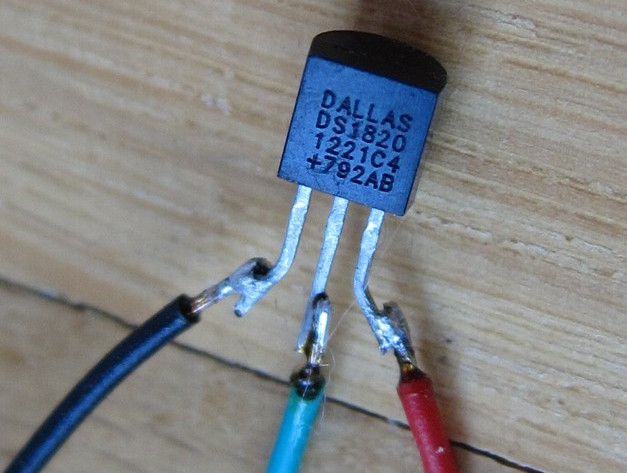
One of my Raspberry Pi is running as a headless device measuring the room temperature. It uses a DS1820 sensor, which is directly attached to the i/o connector of the raspberry and uses the 1-Wire bus.

The measured temperature values can be accessed by a website served by a webserver running on the raspberry.
Hardware
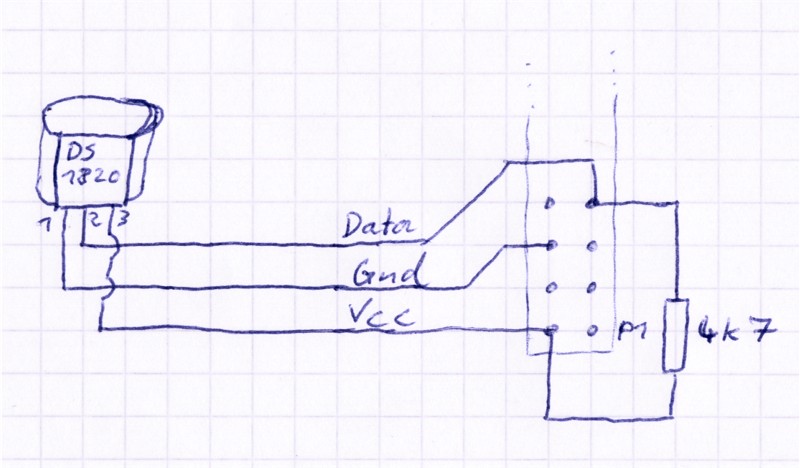
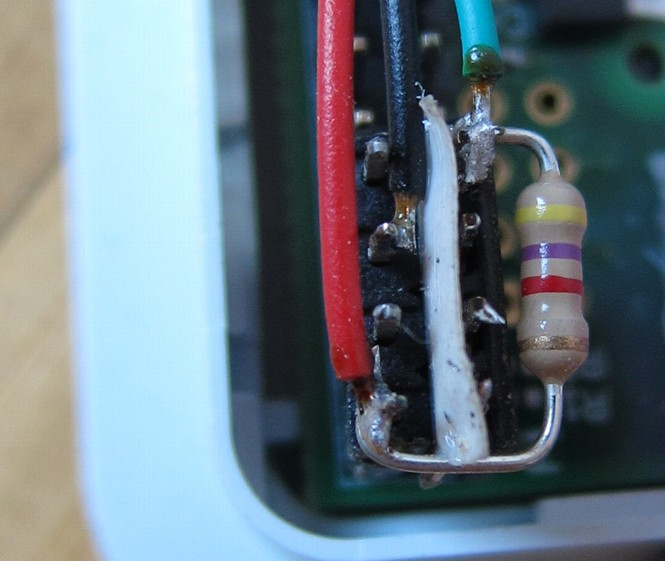
The 1-wire sensor is directly connected to the 26 pin (newer models have 40 pins) i/o connector of the raspberry. The 1-wire bus needs a supply voltage (3.3V), a ground connection and a data line, which is pulled high by a 4.7 kOhm resistor. This is the schematic:

You can add more sensors to the bus by connecting them in parallel to the first sensor. The pullup resistor is only needed once for the whole bus.

Drivers
The Raspbian linux distribution already has all necessary kernel modules installed for accessing the 1-wire bus. For first tests you can manually load them with modprobe:
modprobe w1_gpio
modprobe w1_therm
Reading temperature
If the 1-wire bus and a temperature sensor is connected, you can now read the
sensor temperature by accessing the file w1_slave in the
/sys/bus/w1/devices directory structure:
cat /sys/bus/devices/10-0008029061ff/w1_slave
The number 10-0008029061ff is the id of the temperature sensor which is a
unique serial number and will be different for each sensor. The cat command will
print out something like this:
28 00 4b 46 ff ff 09 10 6c : crc=6c YES
28 00 4b 46 ff ff 09 10 6c t=20187
This means that the sensor has been triggered and it responded with a data block with correct crc and the temperature 20.187 degree celsius.
Hints
To automatically load all modules needed for 1-wire access, you can add the
module names to the file /etc/modules in separate lines.
If you want to read from more than 10 sensors (or other 1-wire devices), you
need to configure a module parameter for the wire module. This module is
automatically loaded when the w1_gpio module is loaded. If you load it
manually before loading w1_gpio, you can add the parameter
max_slave_count to the modprobe command line:
modprobe wire max_slave_count=20
To apply module parameters during startup, you can create a file
/etc/modprobe.d/1-wire.conf (the name is not important, but it must end with
.conf) with one line:
options wire max_slave_count=20